
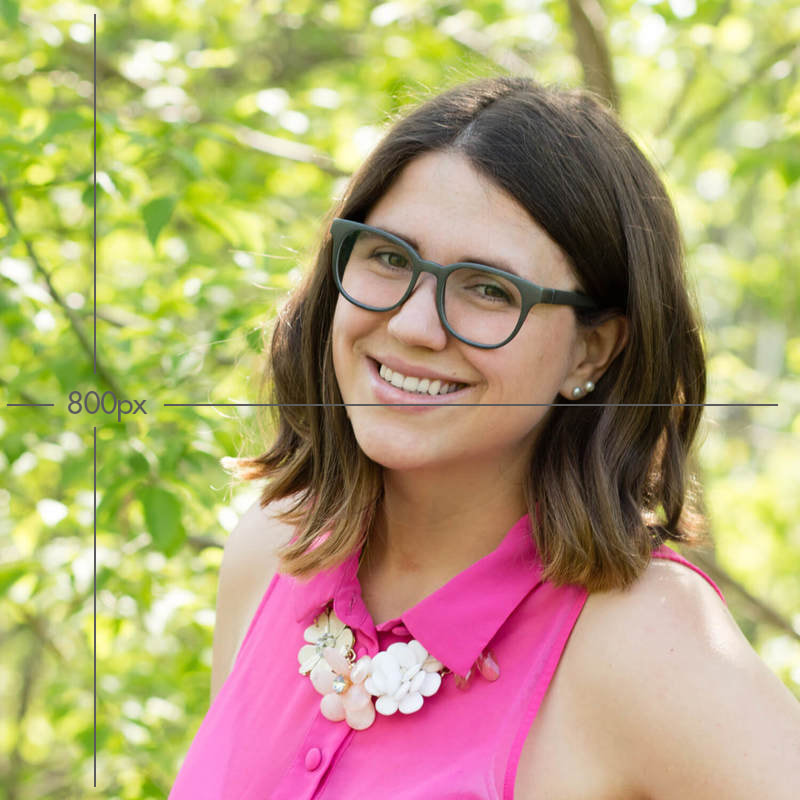
There are a few things that you need to do before you can drop images into your website. Here are three very important steps you should take before hitting the publishing button on your website. 1. Check Copyright For one, you need to make sure that the images you are using are okay for you to use. Images that you did not take yourself are typically not okay to use due to copyright reasons. That includes cute pictures of kittens you found on Google. Thus, it is best to stick to your own images for your website. If you are not able to take high quality images for your website, but really want to use some, you have the option to purchase stock images through stock sites. I like to use ThinkStock, which features many high quality stock images to choose from. 2. Choose the Right Format Images come in varying sizes and formats. The Jpg or jpeg format is the most used format on the web. It is used for any images that are static and are not transparent. My headshot shown above was saved as a jpg file. Be sure to set the color profile of the image to RGB, so that the colors appear correctly on screen. After all, RGB is for digital and CMYK is for print applications. The png format is for images that require transparency such as logo files. My own logo, for instance, is a light colored logo that I placed over a dark background image on the home page, so it had to be saved as a file that allows for transparency. Otherwise it would show up as a white rectangular image with a turquoise triangle at the center and you wouldn't be able to read my name. Last but not least, if you want to have a moving image or animation on your website, you will have to use the gif format. Be aware that it only supports 256 colors, so the quality of a gif isn't as high as a jpg image. 3. Resize for the Web Now that you have taken or purchased images for your website and have ensured that they are in the right format, you are almost ready to place them. Before you drop them onto the site, you now need to resize them for the web. After all, we don't want our images to compromise the load speed of the website. Banner images can be larger in resolution at about 2000 by 600 pixels and smaller images like my headshot can be around 800 by 800 pixels. You should be able to crop images in any image editing software, such as Photoshop. Make sure that all images are at a file size less than 500 KB. If you have Photoshop CC, you can go to File > Export > Save for web and resize your image that way. If you don't have Photoshop or you want to compress your image files even more, you can use the free TinyJPG web tool. If you have any additional tips in regards to web imagery, be sure to let us all know in the comments!
0 Comments
Leave a Reply. |

jana baeckerwife • mama to 4 • sustainable, digital & print designer • photographer • educator • german Archives
June 2023
Categories
All
|
 RSS Feed